

Easter cookies with Royal Icing

Easter is coming up and I thought it was about time I got busy in the kitchen and tried my hand at some Easter baking. I had been on Pinterest and Instagram and seen picture after picture of beautiful Easter baking and among all these beautiful photos, have been many Easter cookies with royal icing. So I decided to make some Easter cookies with royal icing.
I have a great sugar cookie recipe by Sweet Sugarbelle that has a very nice flavour so that was my starting point.
BASIC SUGAR COOKING RECIPE
Ingredients
1 c. {two sticks} of REAL unsalted BUTTER, softened
1 1/2 c. confectioner’s sugar
1 egg
2-3 tsp almond flavouring almond
2 1/2-2 3/4 c. all-purpose flour
2 tsp. baking powder
1 tsp. salt
Instructions
Cream together the butter with the icing sugar.

Add the egg and almond extract then beat until incorporated.

In a separate bowl mix together the dry ingredients then add slowly to the butter mixture. Mix all in until most of the dough sticks to the paddle but it should not stick to your fingers.
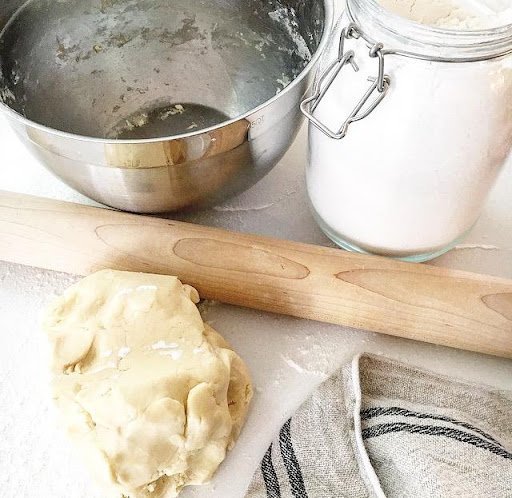
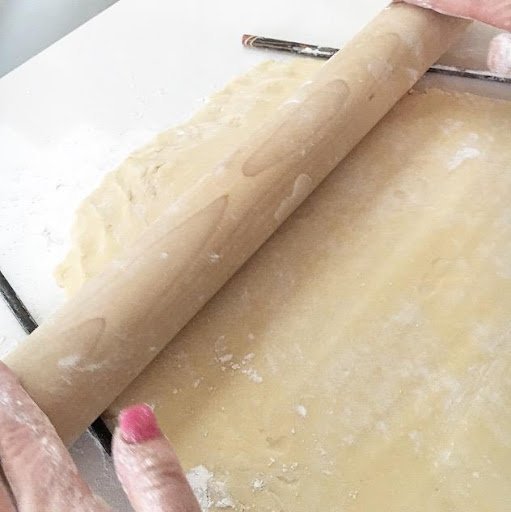
Now it’s time to roll out the dough. You want it to be about ¼” thick.
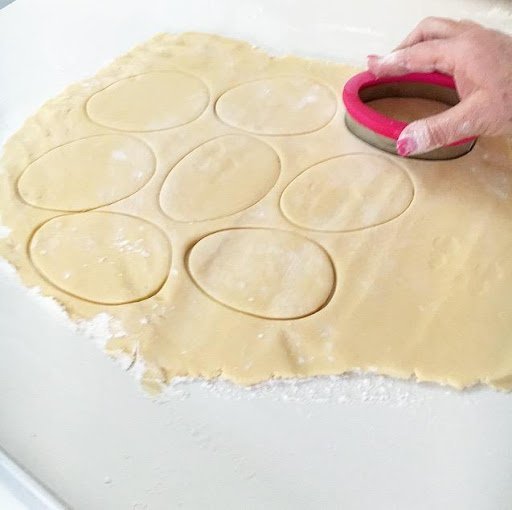
Continuing on I used a dollar store Easter egg cookie cutter to make the egg shapes.
Then it was time to put them on the parchment paper lined cookie sheet and bake for about 8 mins. But that will depend on how your oven interprets 350 degrees. Watch closely!

While the cookies were cooling we were on to the royal icing. I was actually feeling pretty smug at this point. I didn’t burn the cookies and they tasted mighty fine. I had looked up royal icing online so was feeling pretty confident about making “piping” icing and “flooding” icing. I had learned that you are supposed to outline the cookie first with the piping icing then you can thin it down just a bit so you can “flood” the cookie on the inside of that outline.
ROYAL ICING RECIPE
Ingredients
3 cups icing sugar
2 egg whites
¼ t cream of tartar
1 t vanilla
water as needed
I did not have a problem getting the right consistency of the icing BUT I had real issues once I started to add the colour. I had bought some “special” food colouring from a kitchen store recently and thought it would be the prime time to try them out. That didn’t work out so well. The fact is, the colours were so saturated they didn’t look like Easter at all! We are talking fuchsia instead of a light pastel pink we were after. Moral of the story? The inexpensive food colouring you get at the grocery store is just fine and can make lovely pastel colours!!

Once I did get the colours more sorted out, I started outlining with the piping icing.
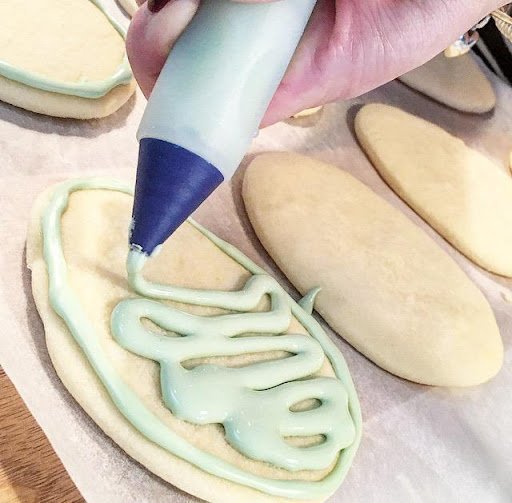
The food icing is supposed to “melt” together- it just kind of runs together to make an even layer. If the icing is a bit too thick you can help it along by using a toothpick to smooth it out.


I will say this wasn’t the easiest baking I’ve ever done. The icing decorating was quite labour intensive BUT I will also say it was well worth it.
Happy Baking from Victoria!!!
If you have some baking adventures you’d like to share or even some great tips, drop us a line! We’d love to pass it on!
Are you Ready to Get Started on Your Design Project?
Brooke Hatfield Design can guide you through the process of your interior design project and make it as effortless as possible.